

Are you excited? You should be! Here's the tutorial:
 Step 1: Start with fruit. You can use any kind of fruit you want. Berries, grapes, bananas, apples, seriously, go nuts. I used blackberries and bananas, with a little grape juice squeezed in. I should tell you, my measurements are not precise... I am a cooking snacker. It's true. So here's what I did, but keep in mind, it is almost impossible to mess this up. So I used about 1 1/2 mason jars of blackberries and about 1 1/2 large bananas that were very ripe. I used 1 1/2 because I ate the other half while I was peeling them! Hahaha, I am really enjoying this post so far. (Are my perfectionist readers angry yet?) Put your fruit in a mediumish saucepan on the stove, low heat. I also squeezed a handful of grapes' juice over the fruit.
 Step 2: Mash and mix. As the fruit warms, get out your favorite masher and mash!


(Since I used Blackberries, mine are quite seedy. I don't mind the seeds. If you do, choose a less seedy berry, like blueberries, or other fruit.)

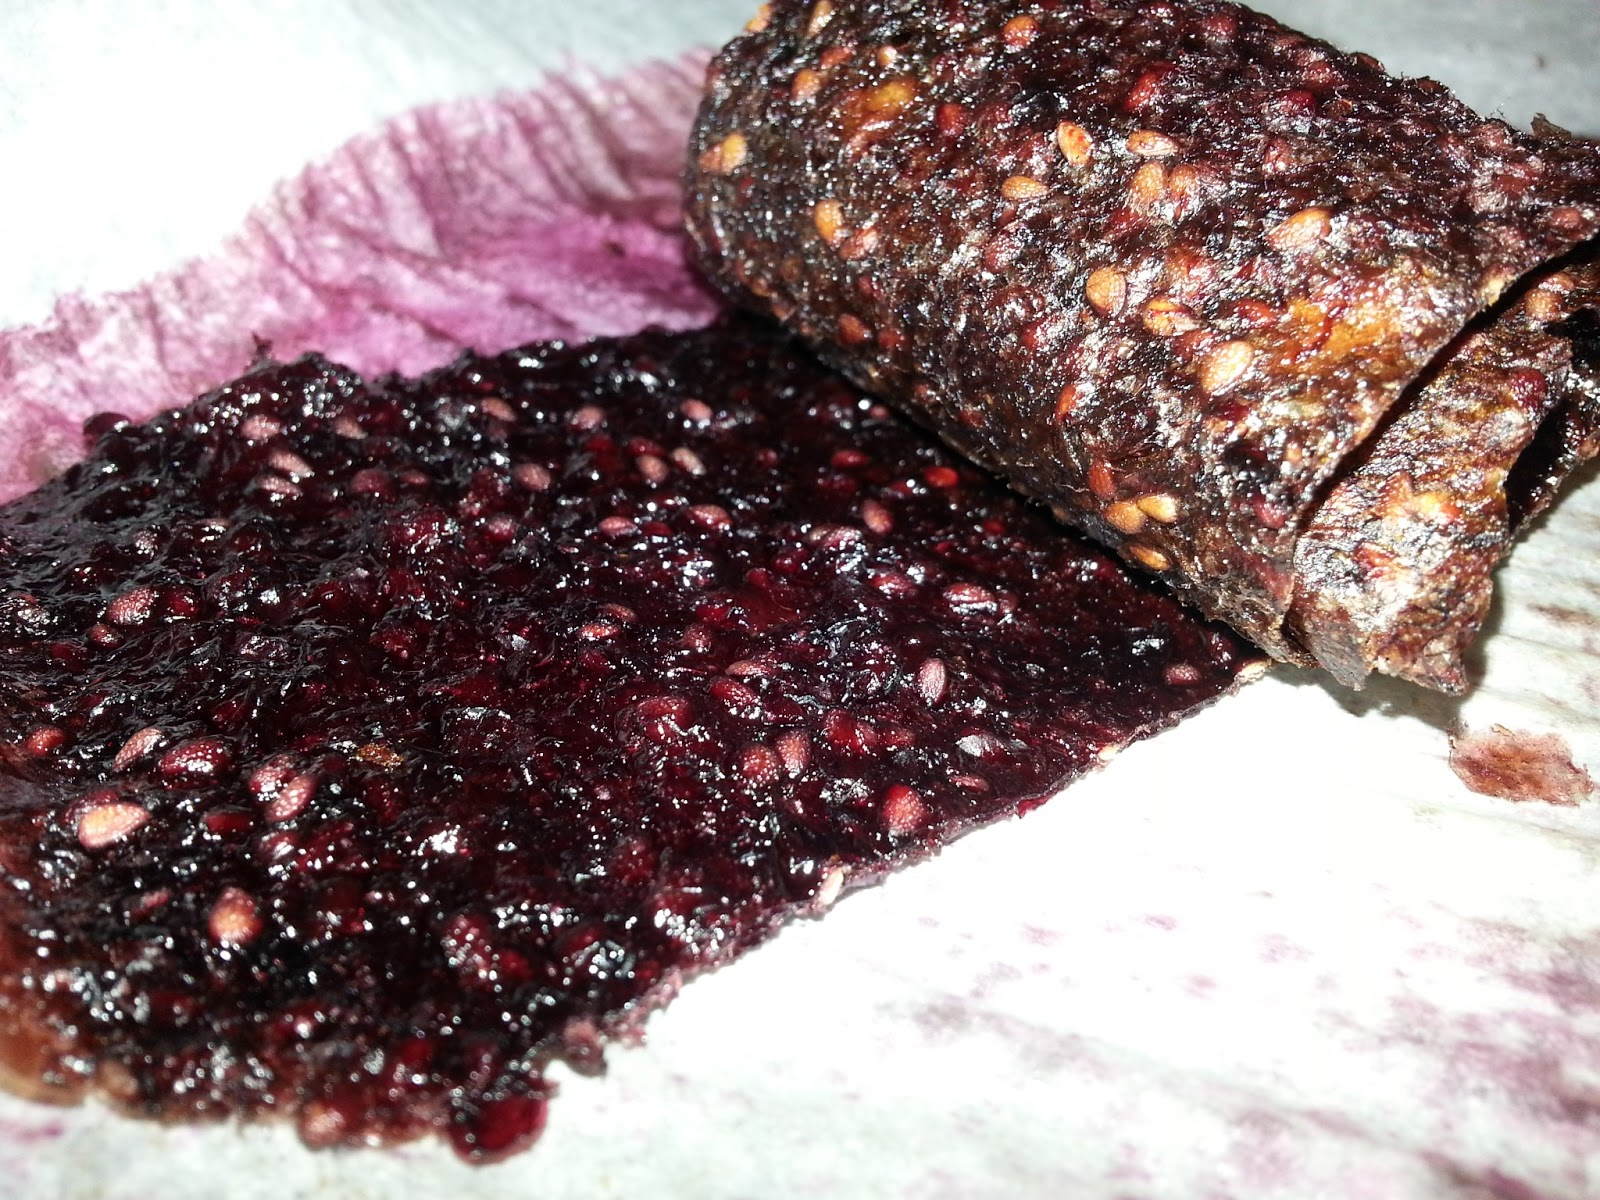
Step 4: Pop it in the oven. Set your oven to the lowest temperature. I have the oldest, ugliest, crappiest electric oven on the PLANET. My lowest temp setting is 200*, but there's also this ambiguous "warm" temp... I went somewhere between 200 and warm. Between 150* and 175* is ideal. Leave your oven open just a little. Again, my oven is the worst, so it will only hold itself closed, halfway open, or completely open... ARGGGG! ...so anyway, I stuck a wooden spoon in the door to keep it open just a crack. You have to let some of the moisture out. The cooking process will take about 5 hours... It can take more or less than that depending on what fruit you use. You have to keep an eye on it starting at around 4 hours. When you're done, the roll-ups will be a nice, dark color. Poke it as you go. It should feel slightly squishy but not sticky when it's done.
 If it stops feeling squishy, and is crunchy, you've gone too far or spread too thin. I'm not 100* sure, but I bet if you squeezed some fresh juice over it (think grape or apple) and let it set (covered) for a while, you could probably moisten it back up some.
I am not perfect, so I always have a few crunchy spots. I tear them apart from the nice chewy bits and put them in a baggy to crumble over oatmeal or yogurt later.
When your roll-ups are finished cooking, pull the parchment paper to a cutting mat and use a pizza roller to slice into rolls. All that's left is to roll 'em up and enjoy! I would love to hear about the fruit combos you choose to try!
So, what do you think? The pictures were a little better, huh? In other news, I GOT ENGAGED THIS WEEKEND!!!! I'm so happy, and since my wedding will (obviously) be almost completely hand-made DIY projects, you can expect plenty of pretty new projects coming your way. I am one happy gal!


 , Under $100 Linky Party ]
No comments:
Post a Comment